
How to install WordPress on WampServer?
If you are new to blogging then you might be searching how to install WordPress on WampServer while having a Windows PC. Then, you are at right place.
Today, we’ll learn how to install WordPress on WampServer step by step and these include:
Step 1: Download the WordPress installation Package
Step 2: extract and upload the WordPress to the WampServer.
Step 3: Setting Up MySql Database for WordPress
Step 4: Complete the installation process and bring the WordPress site local interface.
let’s start from step 1 of “how to install WordPress on WampServer”
- How to Create a WordPress Blog Step by Step
- How to Reset WordPress Admin Password on Localhost?
- How to Allow Visitors to Add Favorite Posts in WordPress Blog
- How to Install WordPress in Other Languages – Multilingual WordPress Installation
Step 1: Download the WordPress installation package
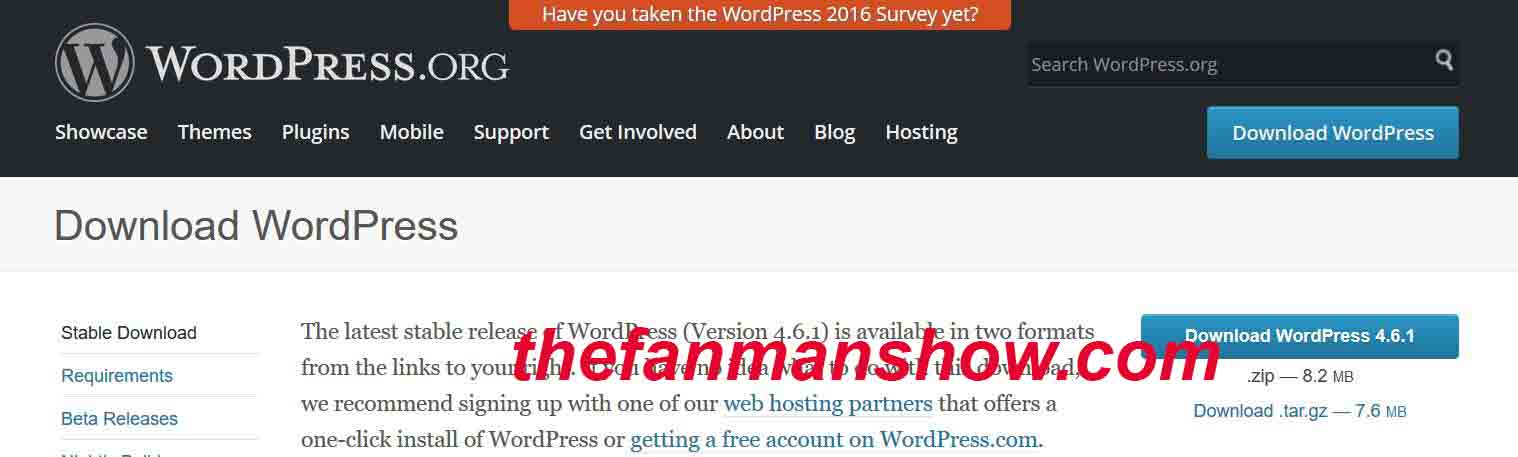
Remember always download and install the WordPress installation package from the WordPress official site.
Here I am going to download the latest version of WordPress 4.6.1. Just click on the download button, the installation package will start to download to your hard drive.
Step 2: Installing the WordPress to the Wamp Server on Windows PC
Find the package and extract it to a new folder. Here I will name that folder “thefanmanshow.” You can name it whatever you want to.
Now, you need to upload the extracted files and folders to your WAMP Server, Definitely, I will guide you to upload this WordPress website or blog to the web server online but still, you need to work on locally.
How to Install WordPress on your Windows Computer Using WAMP Server?
The process of installing WordPress on a personal computer is also known as setting up WordPress on localhost.
The localhost is a local server where you perform all of your workings locally before you going to dive into an online web server as all the developers and designers use localhost to speed up their performance and testing their completed work.
So, also keep in mind that installing WordPress on localhost or on Wamp Server, only you can see it, not the other people because it is a local environment.
If you want it available to the general public then at the completion of our website “thefanmanshow” I will guide you on how to put a website on online or on a web server.
1. Understanding the Wamp Server?
Wamp Server or simply WAMP is used for web development on Windows PC. Wamp is a compilation of Apache web server, PHP, and MySQL. You can also use other servers like XAMPP Server, but I will continue with the WAMP Server because of its free, user-friendly and easy to use.
Installing Wampserver on your PC
The first thing you need to do is go to WampServer website and download the latest WampServer. You will be presented with various options on their download page. Simply choose the one that applies to your Windows (64-bit or 32-bit). When in doubt, select the 32-bit version because it will work on 64-bit versions of Windows.\
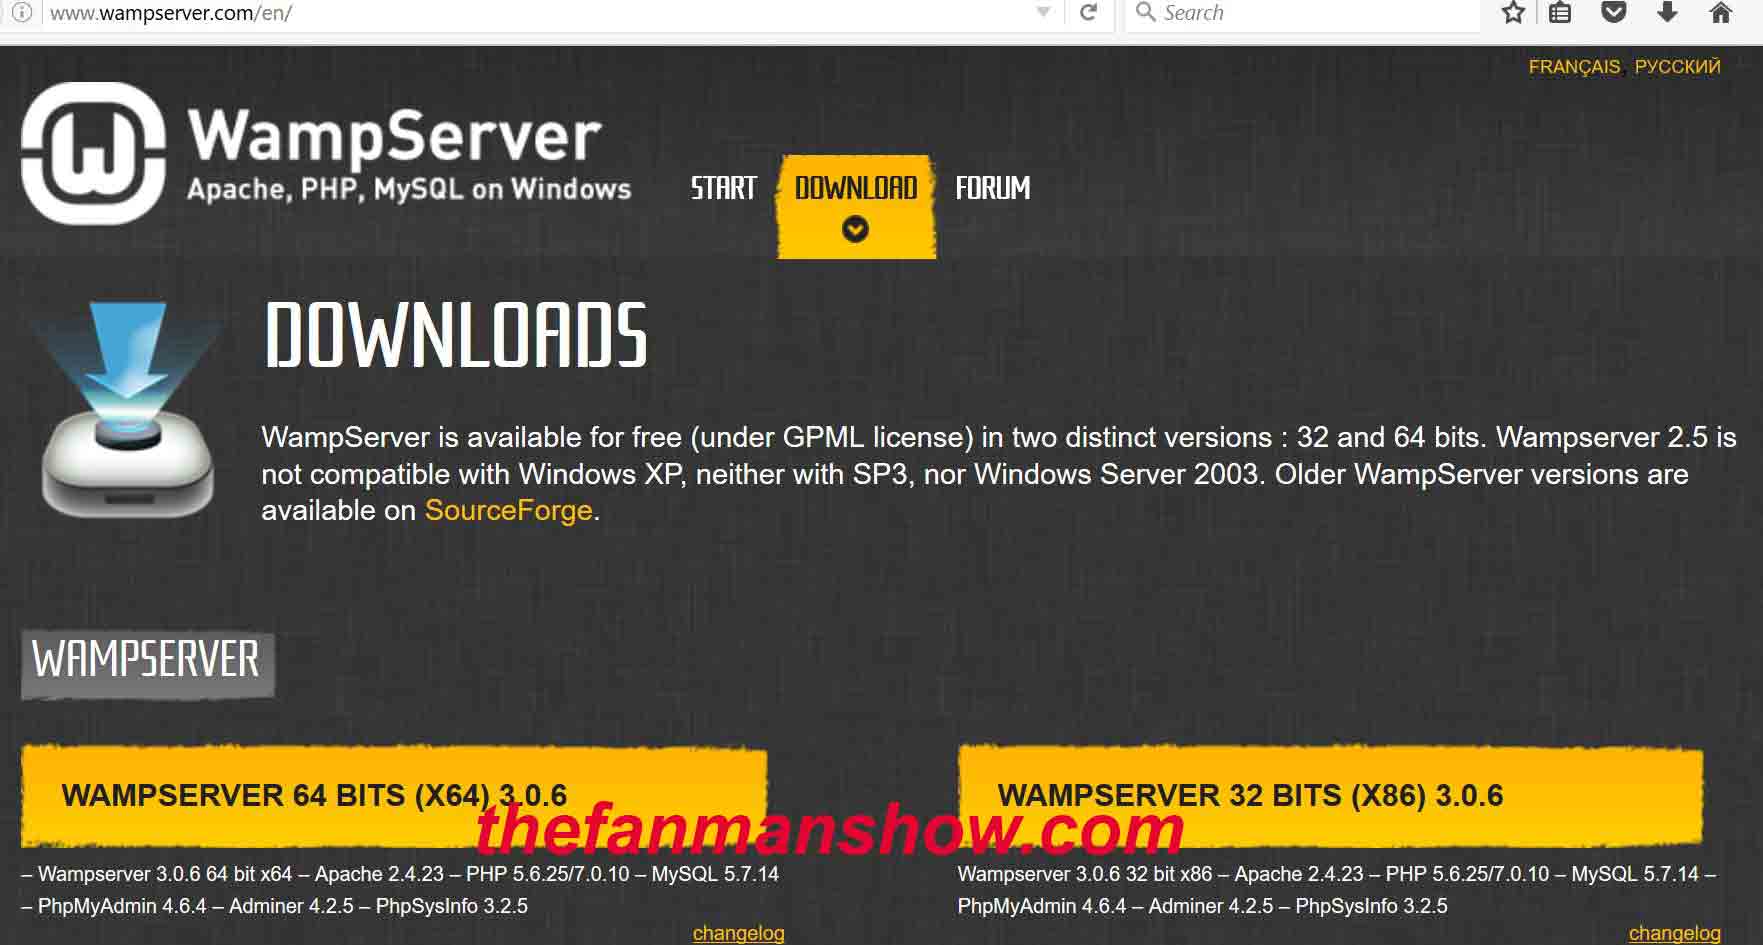
Step 1: Go to WampServer official Website and download the latest version of the WampServer according to your windows version (32 bit or 64 bit). To know which version of windows you are using is, go to my computer icon on the windows >> right click on my computer >> go to properties, here you can see which version of windows you PC is running.
Step 2: after downloading the WampServer just install it in your PC with the following steps:
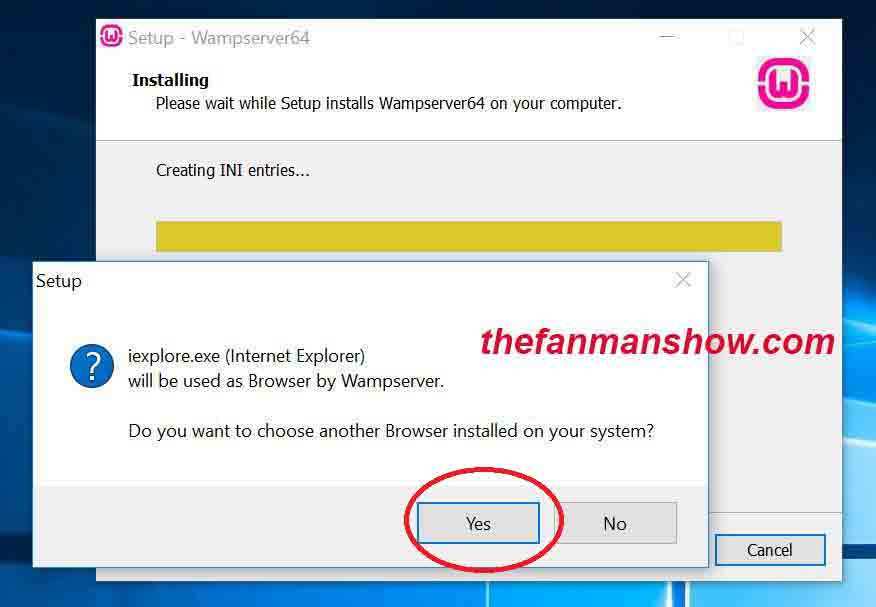
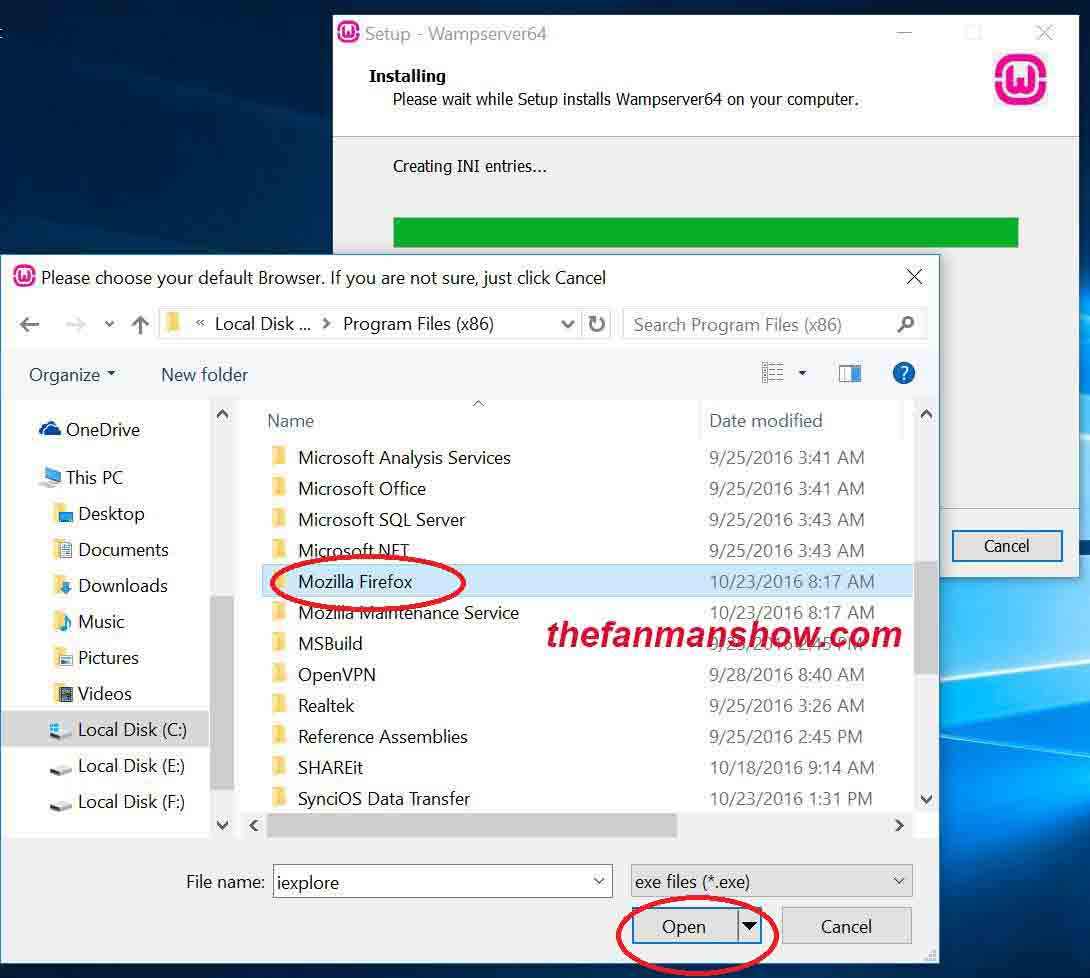
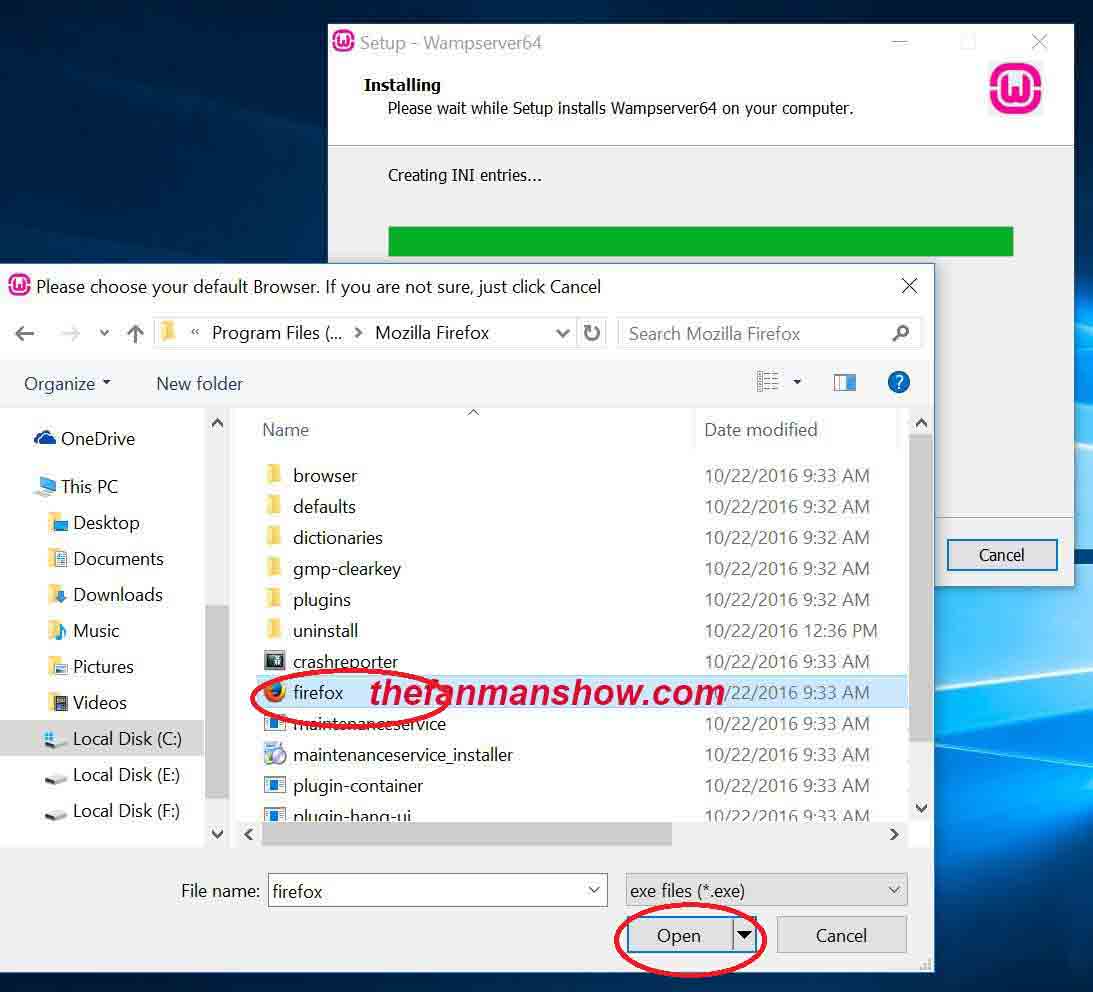
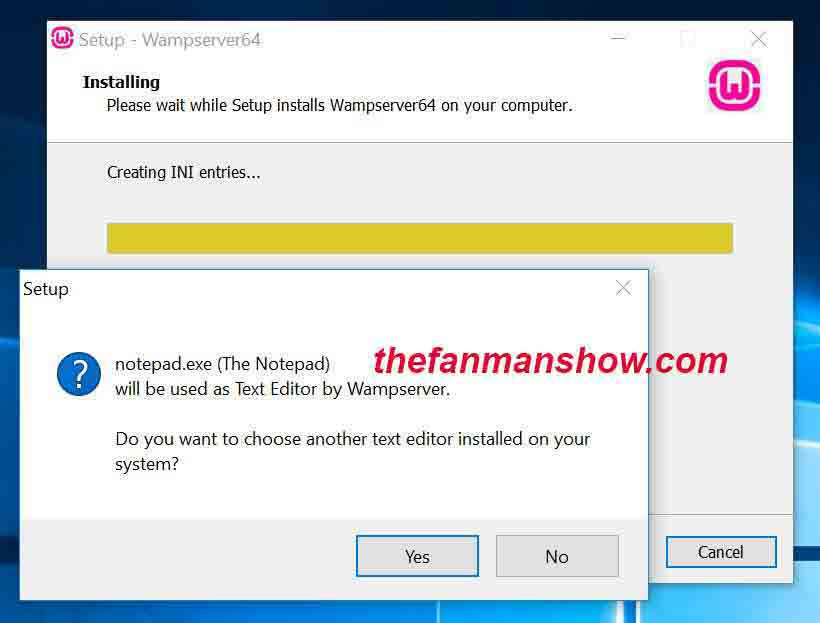
Note*: during installation, WampServer will ask for the default browser, so select Firefox or Google Chrome by locating these browsers from Program Files. Otherwise, It will select Windows explorer with its default behavior.
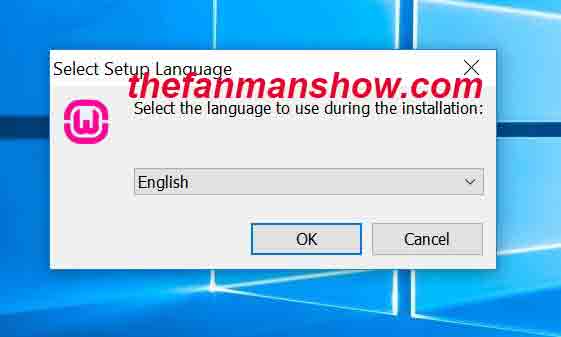
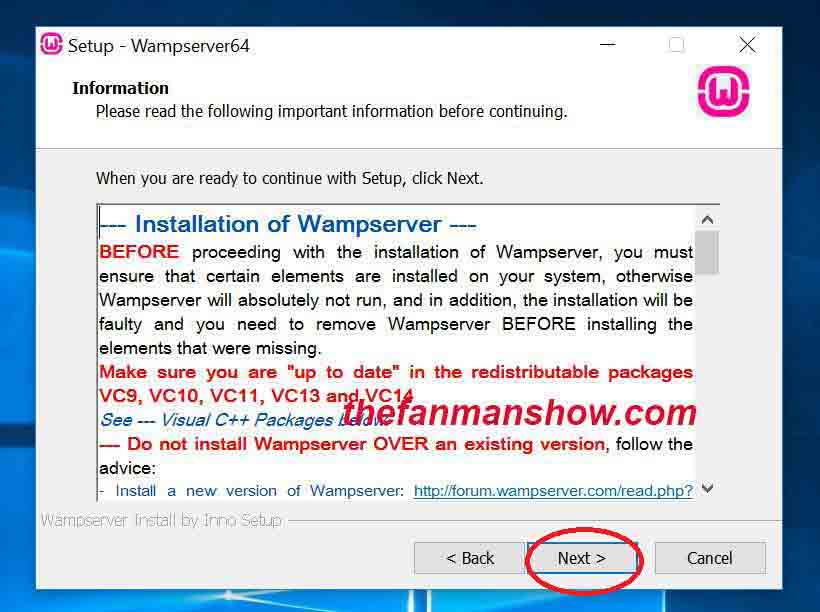
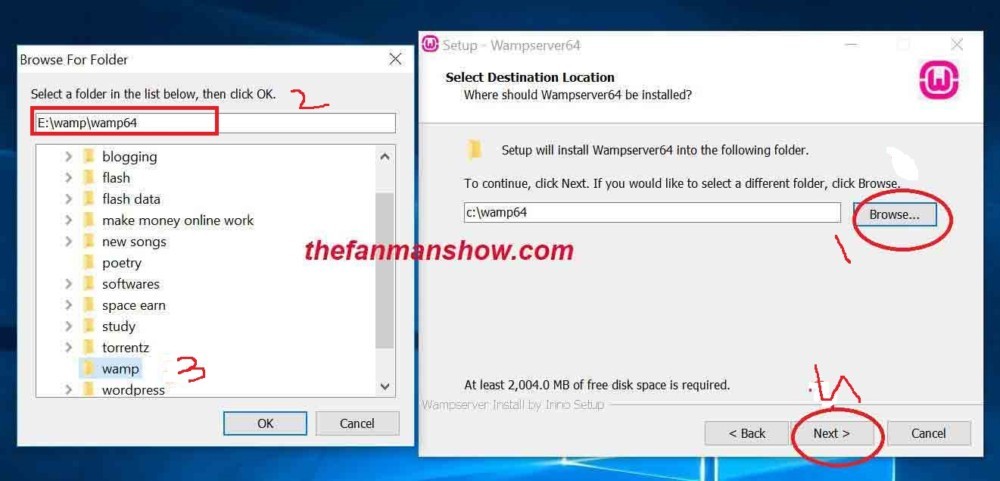
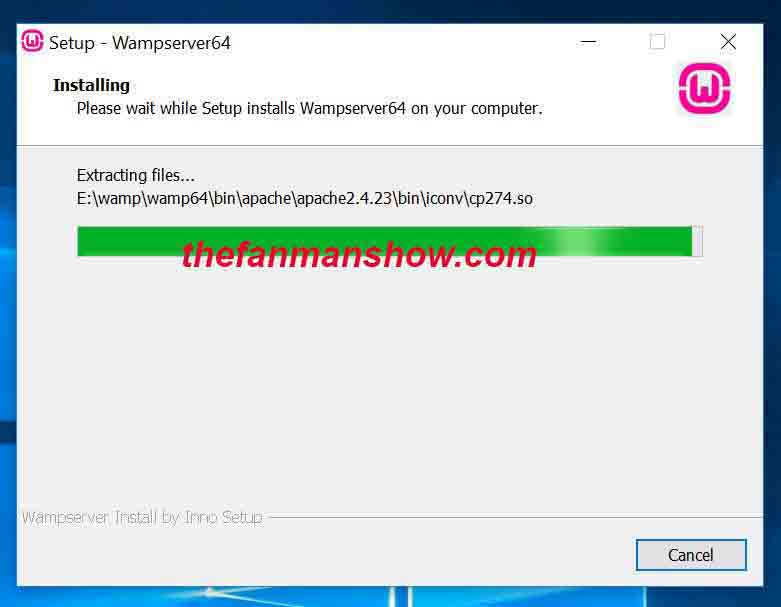
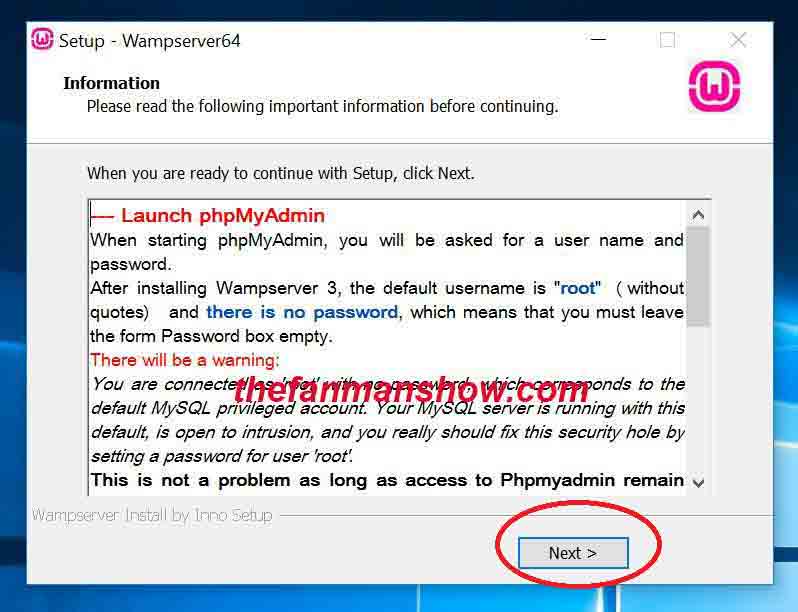
double click on the downloaded setup and the installation will start to follow the screenshots and install it on your pc. Press the highlighted buttons to install.
1.
 2.
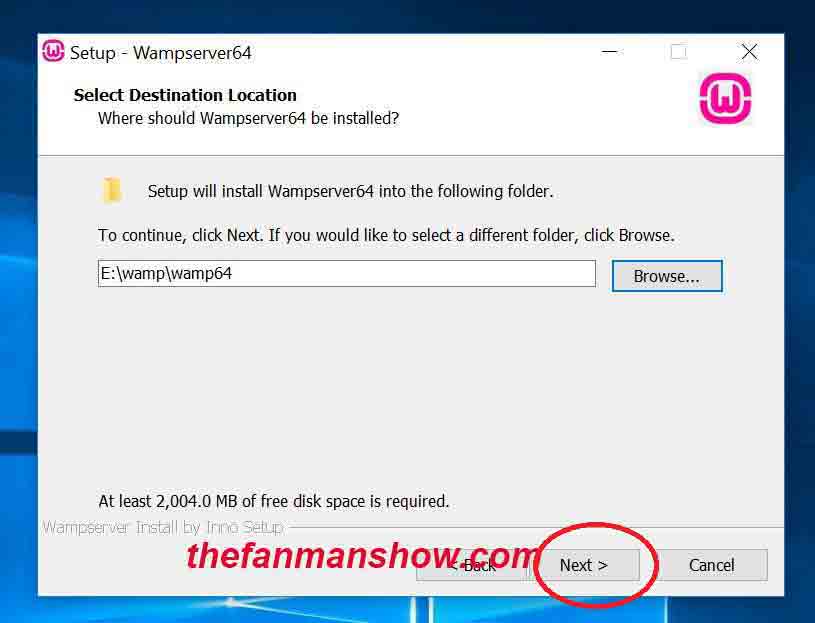
2.  3.
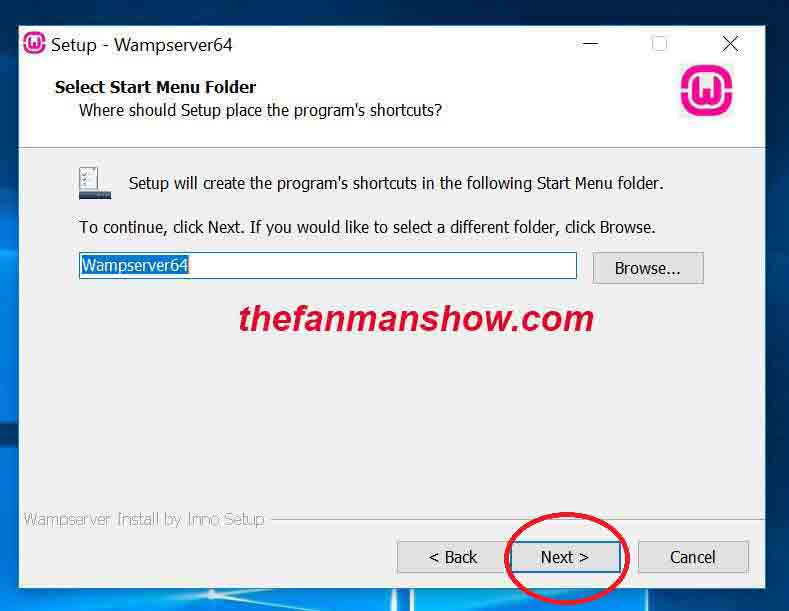
3.  4.
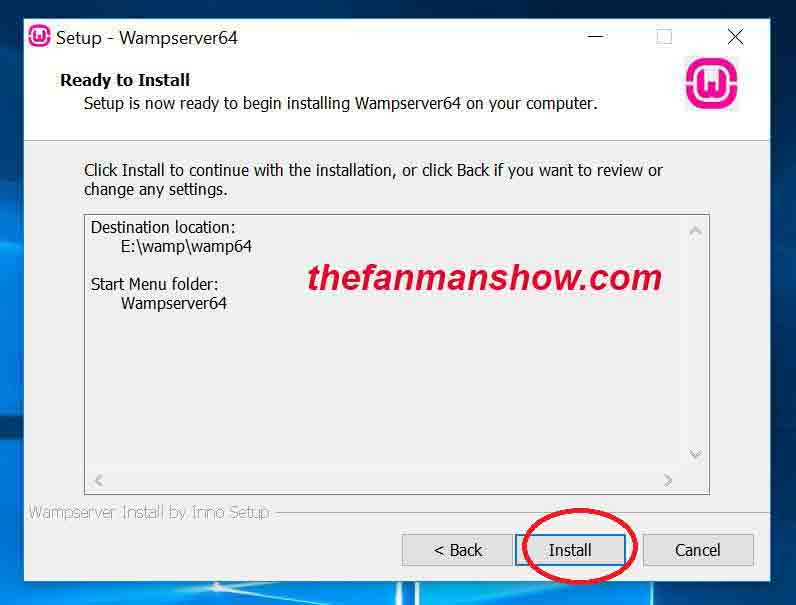
4. 
5.
6.
7.
8.
9.
10.
11.
12.
13.
14.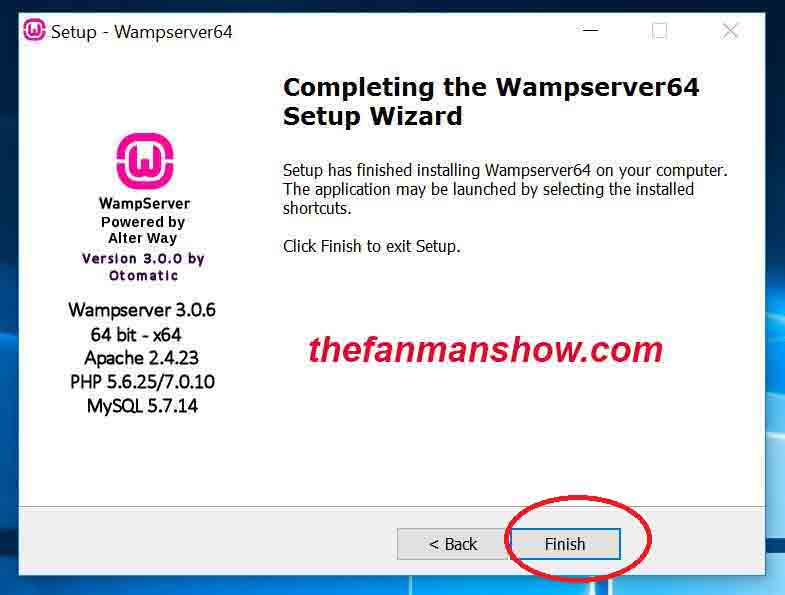
After completing the installation, launch WampServer from the desktop icon.
Step 3: Setting Up Database for WordPress
The Wampserver will launch in the taskbar icon on the bottom right side menu near time and date. Click on the Wampserver icon in windows taskbar and then click on PhpMyAdmin.
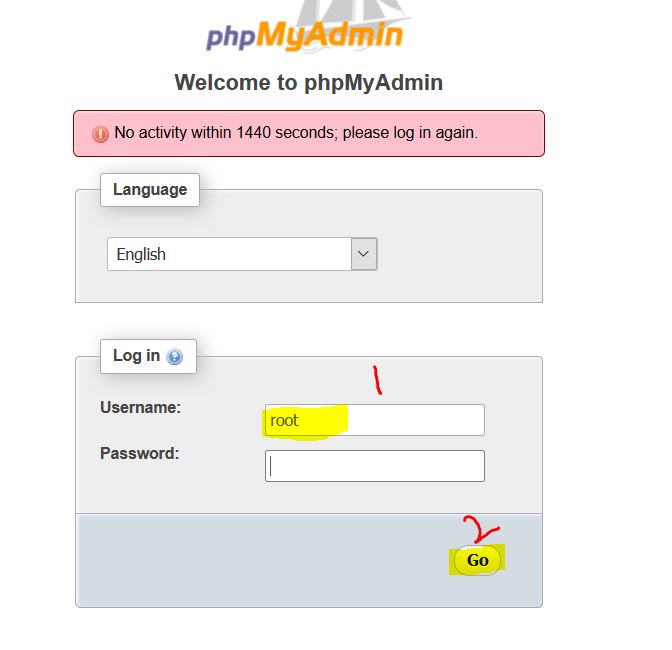
Note* if PhpMyAdmin require your username and password then do as the following in screenshot
 in next step again open the PhpMyAdmin and give root as username and press GO.
New browser windows will open, so click on Databases in PhpMyAdmin and create a new database or DB for WordPress site.

So I am going to name my database as “thefanmanshow” without double quotes and click on Create Button as above in screenshot.
Now, let’s move forward to the last step of “how to install WordPress on wampserver”
Installing WordPress on PC With WampServer
Remember that in the first step we have downloaded a copy of WordPress installation Package and extracted it using WinRar by the following method:
- Right click on the downloaded folder “WordPress 4.6.1”
- Choose the option to extract it to WordPress 4.6.1\
- Double click on the extracted folder “WordPress 4.6.1”
- Rename the folder WordPress containing in WordPress 4.6.1, name it “thefanmanshow”and cut or copy it (thefanmanshow) to the wamp installation directory E:\wamp\wamp64\www
- Now open the web browser, Google Chrome or the Mozilla Firefox and write http://localhost/thefanmanshow
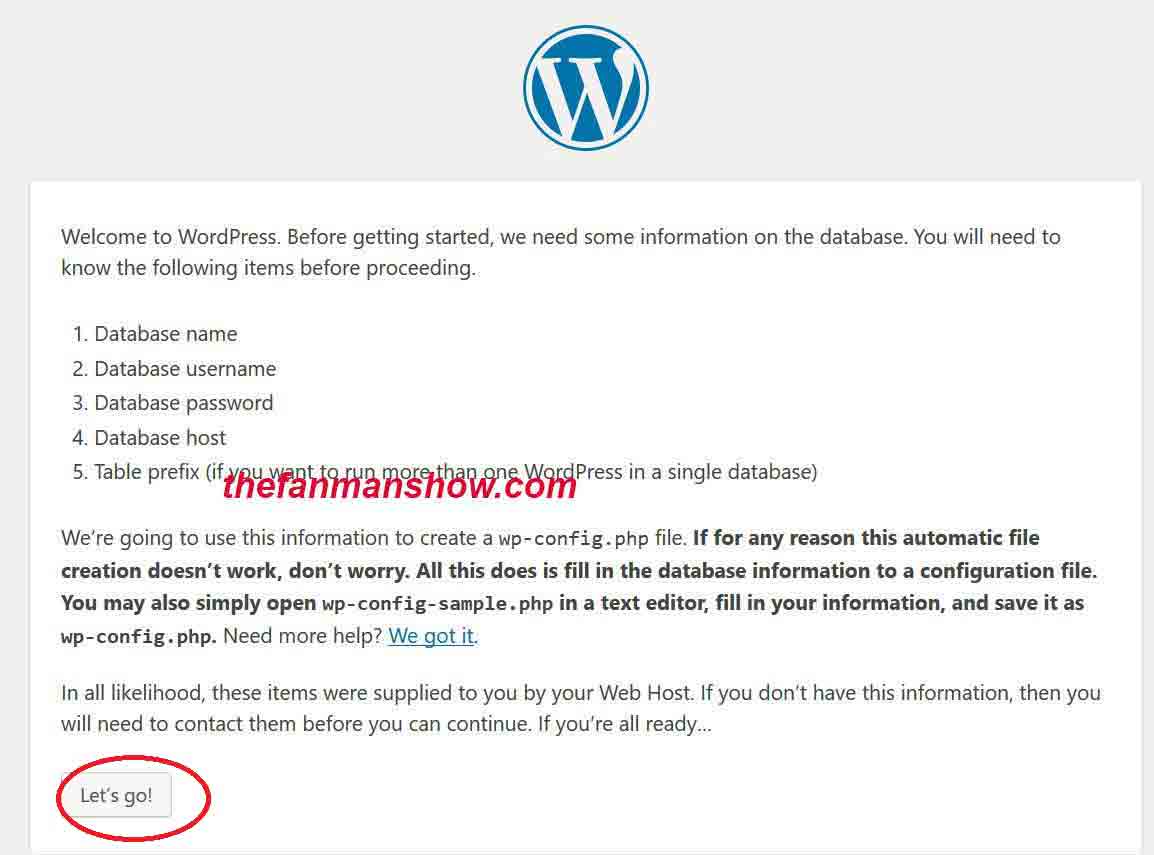
On the next screen, you have to provide your database information by the following steps:
- Press the let’s go button
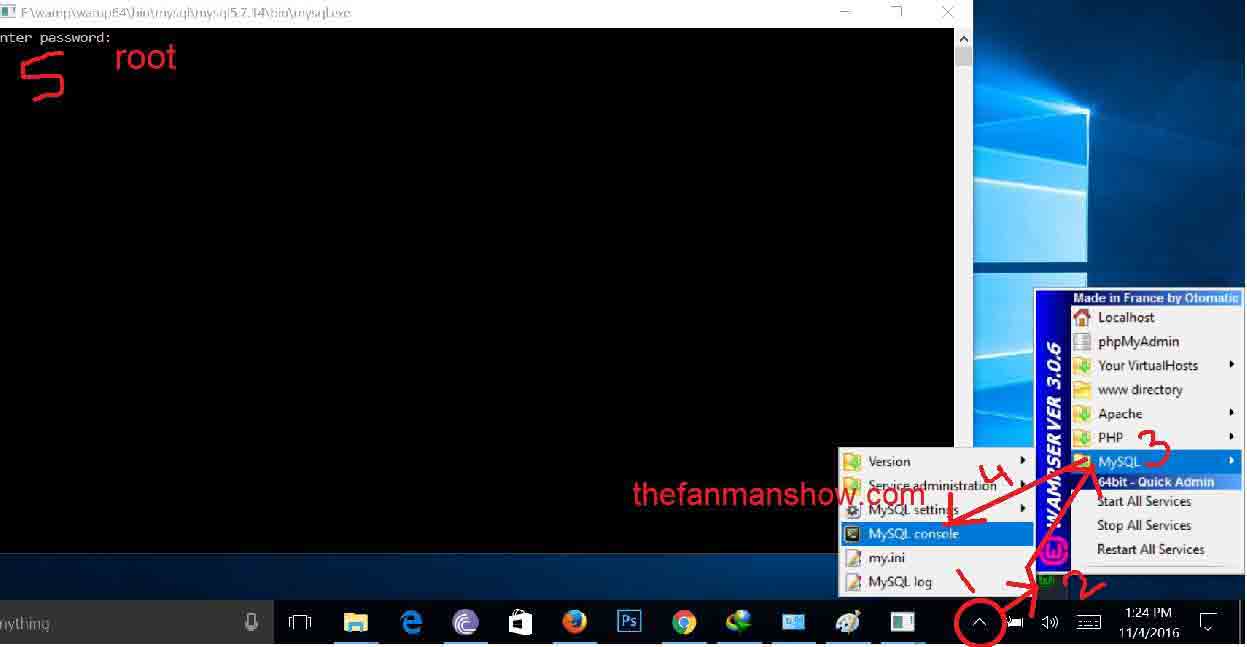
- Error establishing a database connection. Now what you have to do is to make a database connection. So to make connection left click on the wamp server >> go to MySql >> My SQL Consol >> write root in the password section in the appearing DOS Windows.
- Now refresh your web browser and write root as username and press go. WOW, it works.
- Click on Database, provide a name for the database as “thefanmanshow” and press on create. the database has been created.
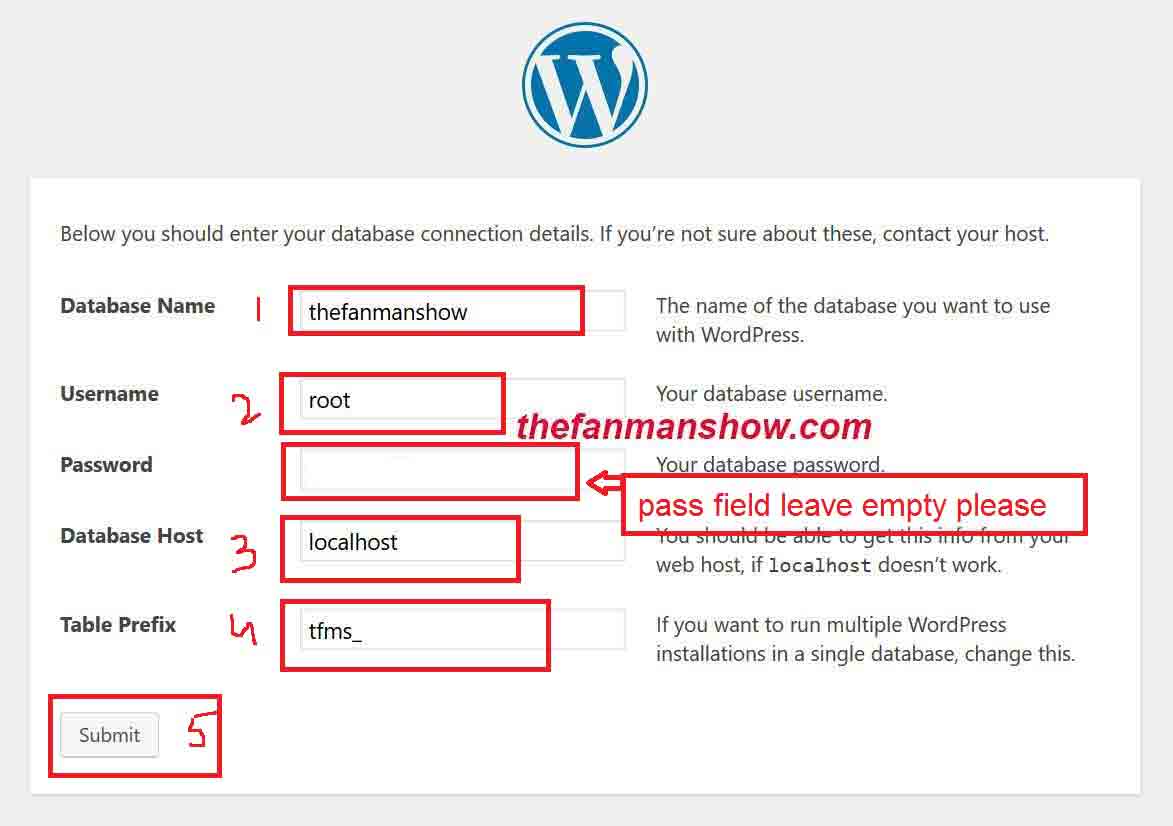
- Provide the database name “thefanmanshow”, username “root” and database host as “localhost” and press the submit button.
- On the next screen again provide the configuration credentials. Also, check the option to discourage the search engine to index this site.
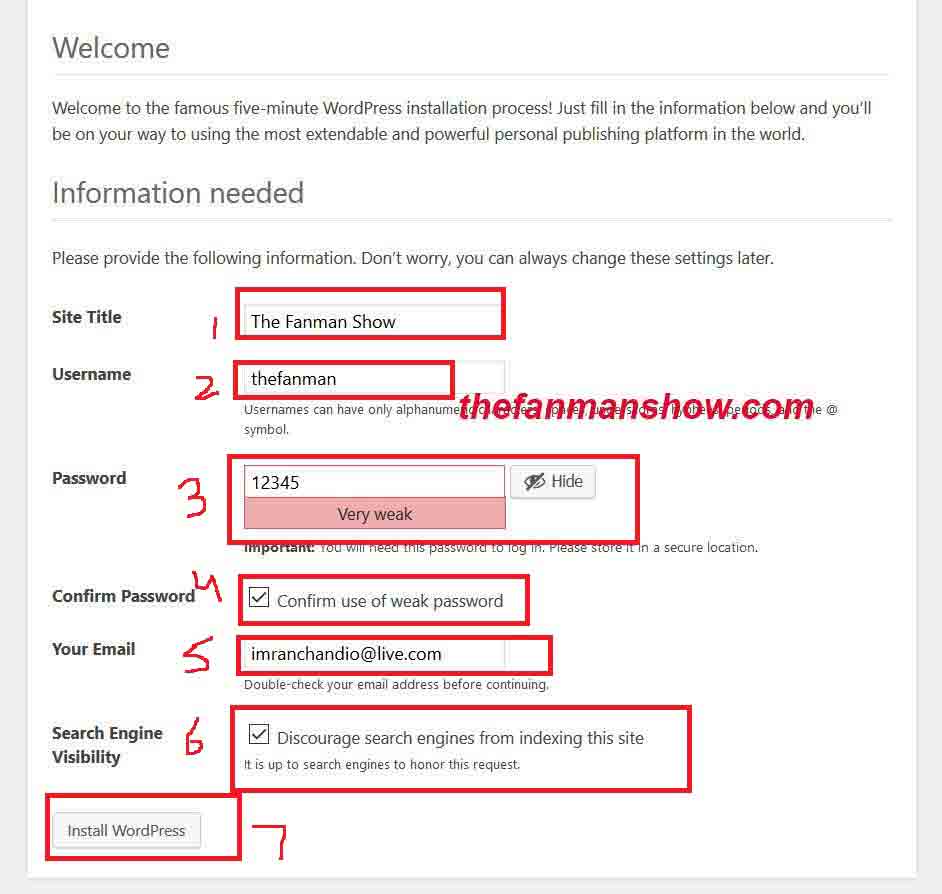
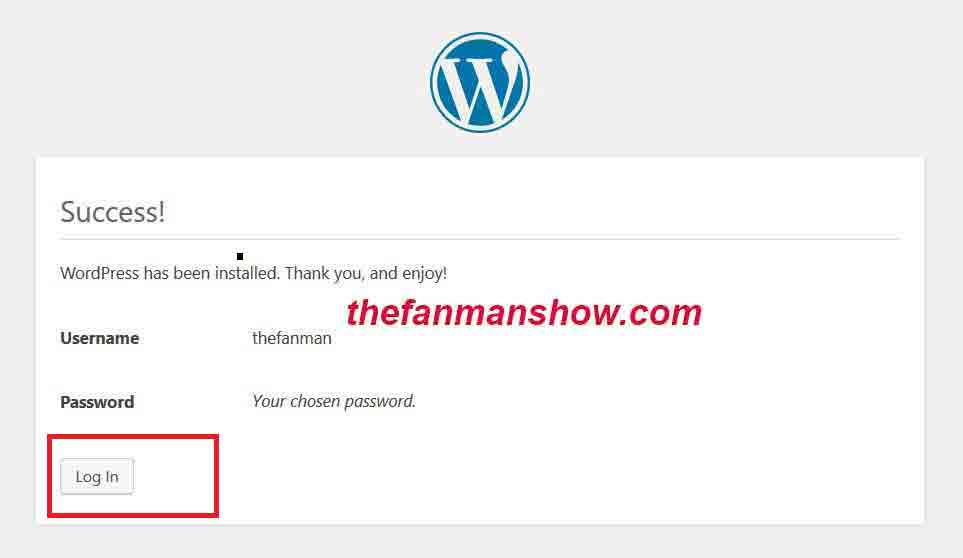
- Press the button to install WordPress
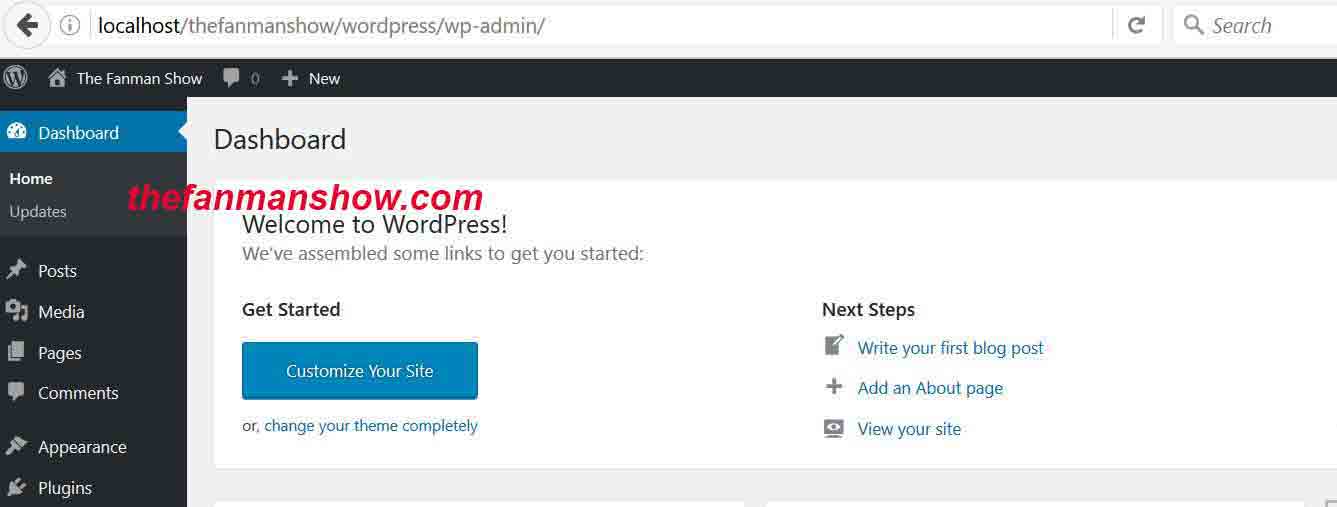
- Now press login and give credentials to log in the admin panel of your WordPress site “thefanmanshow”
- Hover your mouse the upper left corner of the opened windows and click on “visit site” to visit your landing or first home page.
Congratulations! You have learned the first lesson on how to setup and install WordPress with localhost on windows pc and you can see your first empty web page.
In our next WordPress and wampserver tutorial, the fanman show will tell you what further steps can make your WordPress blog/site amazing and an eye-catching landing page display as well as the rest of the site.
Well, this was all about how to install WordPress on WampServer or localhost on your PC in order to work locally on your laptop and PC. When you will complete the tutorial I will also teach you how you can upload your project to the online Web Server.
Share your experience through the comments section.