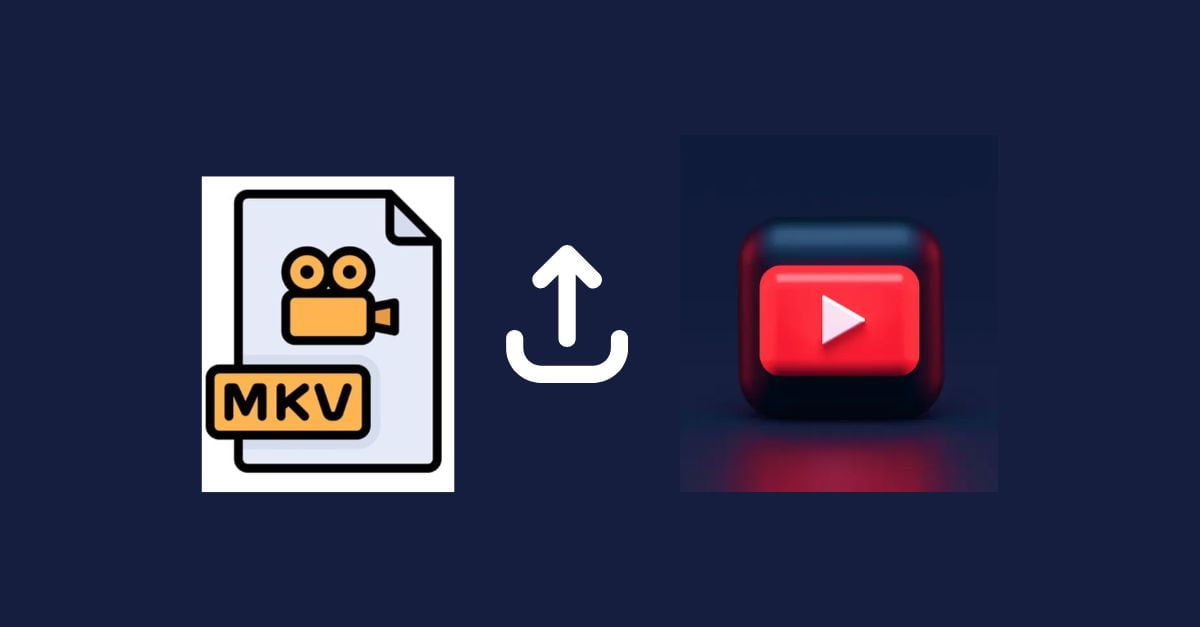
YouTube is a great place to share videos and make money but it is selective about the file formats it allows. Flexible MKV files are not on YouTube’s top favourite format list. However, don’t be scared; this guide will take you through the simple steps to effortlessly upload your MKV video on YouTube.
Further, we’ll explore:
- How to convert MKV files for YouTube uploads.
- Methods and tools for conversion, as well as tips for balancing quality and file size.
- Engaging viewers with successful examples.
- A step-by-step guide to uploading converted videos on YouTube and the importance of making high-quality and engaging videos.
But before proceeding further, let’s find out:
What is MKV
MKV, or Matroska Multimedia Container, is a free and open format for storing video, audio, images, and subtitles in a single file. It works like MOV and AVI, but it has a much bigger storage space. MKV is frequently used to store movies and TV shows, which are the longest-form videos.
Cloudinary, defines the MKV format as under:
“Matroska Multimedia Container is a free and open container video format that allows you to store an unlimited number of video, audio, image, or subtitle tracks in a single file. MKV is a universal format for storing multimedia content such as movies and TV shows.”
Now, let’s talk about the core issue that everybody is facing nowadays:
Why Can’t I Upload MKV Directly?
To abstract video container file formats as boxes, MKV containers store subtitles and multiple types of video and audio formats inside them. When YouTube has a specific kind of container and component (video and audio formats) inside, it does not care about the shape or form of the container.
Here are the most popular video formats that YouTube loves the most:
- .3GPP
- .AVI
- .FLV
- .MOV
- .MPEG-1 (.mpg)
- .MPEG-2 (.mpeg2)
- .MPEG-4 (.mp4) (highly recommended)
- .MPG
- .WMV
- CineForm
- DNxHR
- HEVC (h265)
- ProRes
- WebM (.webm)
It is clear that the MKV format is not in the above list. Because YouTube needs a suitcase that can be packed and carried easily, the MKV files are more like a big bag that can hold anything.
So, to upload MKV to YouTube effortlessly, you need to make the video YouTube-friendly.
Here’s how you can do that:
The Fix: Convert or Remux Your MKV
There are two main ways to get your MKV ready for YouTube:
- Convert: You can download and install various MKV to MP4 video softwares on your computer that can convert videos into your desired format. This is the ideal choice, especially if you have many videos to convert or want to edit the video before uploading it. The process mirrors the container format (MKV) to something YouTube-friendly, like MP4, and changes the video and audio formats inside to H.264 video and AAC audio.
- Online Converter: You can convert your video to the website. This is the best option if you only have a few videos to convert and don’t need to make any changes to them.
- Remux: This method is quicker and only converts the container (MKV) to a YouTube-friendly one while the original video and audio formats stay inside. The remixing process works only when your MKV file already has compatible video/audio formats.
YouTube’s Favorite Video Suitcases
YouTube tends to favor videos in unique formats that carry your video like a suitcase. These containers (formats) are well-known for reducing the size of a video while still preserving the quality. That is why this is very important: millions of people download YouTube videos and play them on PCs, tablets, and smartphones, and the smaller videos load faster and play better.
Here are the types of suitcases (formats) YouTube likes: MP4, MOV, WMV, FLV, AVI, WebM, and others (we have mentioned in the article above).
Before uploading your MKV video to YouTube, there’s one more thing: YouTube prefers videos with special formats that make the files lighter and easier to watch. That’s like packing your clothes in a suitcase before you travel. MKV is the type of bag that can hold everything, but it is not the best option for traveling.
The good side is that you can do it by yourself and change your MKV video to a format that YouTube accepts by using “Remux” or “Convert.” However, the problem is deciding which method to adopt. Let’s find out:
Conversion vs Remuxing: Which Method to Adopt
Conversion
Imagine you have a box (MKV file) with videos, sounds, and subtitles inside. Conversion rebuilds everything. It takes the video and audio data, puts it in a new box (MP4), and might even change the quality of the process.
Remuxing
This is like relabeling the box. You take the videos, sounds, and subtitles from the old box (MKV) and put them all in a new box (MP4) without changing anything else.
Better Method
Remuxing is generally better for YouTube uploads because:
It’s faster: Remuxing rearranges things, conversion rebuilds them, taking more time.
Keeps quality: Remuxing doesn’t change the video or audio quality.
When to Use Conversion
you can use Conversion only if:
- YouTube doesn’t accept the original format (e.g., very rare formats).
- You want to change the video quality (e.g., make it smaller for faster upload).
How to Optimize Video Quality and File Size for YouTube Uploads
You want your video to look good on YouTube, but you don’t want to wait for a long time to upload it.
There are YouTube recommended settings for uploading videos that you can modify during conversion to affect both the quality and the file size:
- Resolution: By this, I mean the size of the video. YouTube recommends 1080p (1920×1080 pixels) for high definition and 4K (3840×2160 pixels) for ultra-high definition.
- Bitrate: This regulates the amount of data used each second in the video. A higher bitrate implies better quality but also a larger file size. YouTube recommends 8Mbps for 1080p and 44-60 Mbps for 4K.
- Codec: This is how the video is stored. YouTube prefers the H.264 codec for high-resolution videos.
Also, various free and paid apps can change or remix your MKV videos.
- Free: Handbrake (Windows, Mac) and Xmedia Recode (Windows only)
- Paid: Adobe Premiere Pro and Final Cut Pro are two examples of advanced video editing software.
Tips to Get More Views After Uploading Your Video
You’ve converted the MKV file and uploaded it to YouTube, but how do you make people watch it? Here are some tips:
- Write an eye-catching and fascinating title for your video.
- Write a long and detailed description that contains properly targeted keywords people might type in search engines.
- Use tags that are relevant to your video.
- Design an attractive thumbnail to get attention.
- Give a transcript so that people can find your video in search results.
Engage Your Viewers:
- Answer comments to make them understand that you care about what they think.
- Invite the audience to subscribe to your channel and watch more of your videos.
- View what type of videos people watch on your channel and make more videos like those.
- Design playlists and link-related videos that keep the audience watching.
How to Upload Your Converted MKV Video to YouTube in Simple Steps:
Convert your video: YouTube doesn’t support MKV files, so you should convert them to something YouTube likes, like MP4. You can find free online tools like Online-Convert or Zamzar, which will convert for you.
- Sign in to YouTube: To upload a video, you will need to have a YouTube account. If you don’t have one, it costs nothing to open one.
- Click the Camera Icon: Find the camera icon at the top right of YouTube and click it to start the upload.

Here, you’ll find two options, “Upload Video” or “Go Live.”

- Choose Your Video (Using the “Upload Video” Option): Click “Select files” to find your converted video on your computer. You can also drag and drop it.

- Add Video Details: Give the video a short but interesting title, write a description, and select a thumbnail image (something like a little preview picture).
- Pick Who Can See It: Decide which one of the options you prefer (public, unlisted, or private).
- Upload your video: Press “Publish” to begin the upload. The video size and your internet rate are the factors that determine how long it will take.
- Share your video: Once you have uploaded it, you can send the link to fans, friends, or relatives on your website!
Conclusion
Converting your videos to the right format might seem annoying, but it’s necessary to get the most views on YouTube. This guide explains why you need to do it and how to do it easily. Now, you can upload videos with confidence! The most important thing for YouTube is not just making videos but making sure they’re high quality and interesting to watch. Once you have successfully uploaded your video then, you need to search for the best video submission sites list for video marketing so that people can watch it and share their thoughts on it.